Working with Releases
In Practice
Whilst Halo is truly at home when it comes to supporting continuous testing, the reality is that you'll usually need to work towards some kind of project or product release. This section will help you make best use of Halo's Releases functionality.
Create a Release
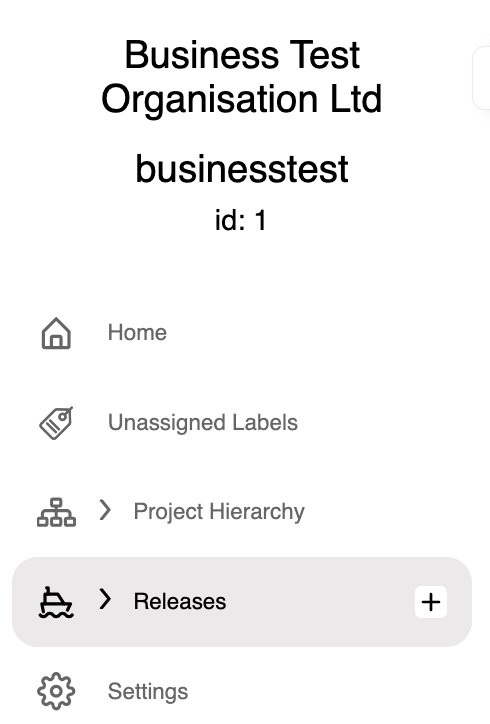
Administrators can create a new release from the left hand navigation under any existing nodes.
You will need to give it a name but description, start date and end date are optional at the time of release creation.
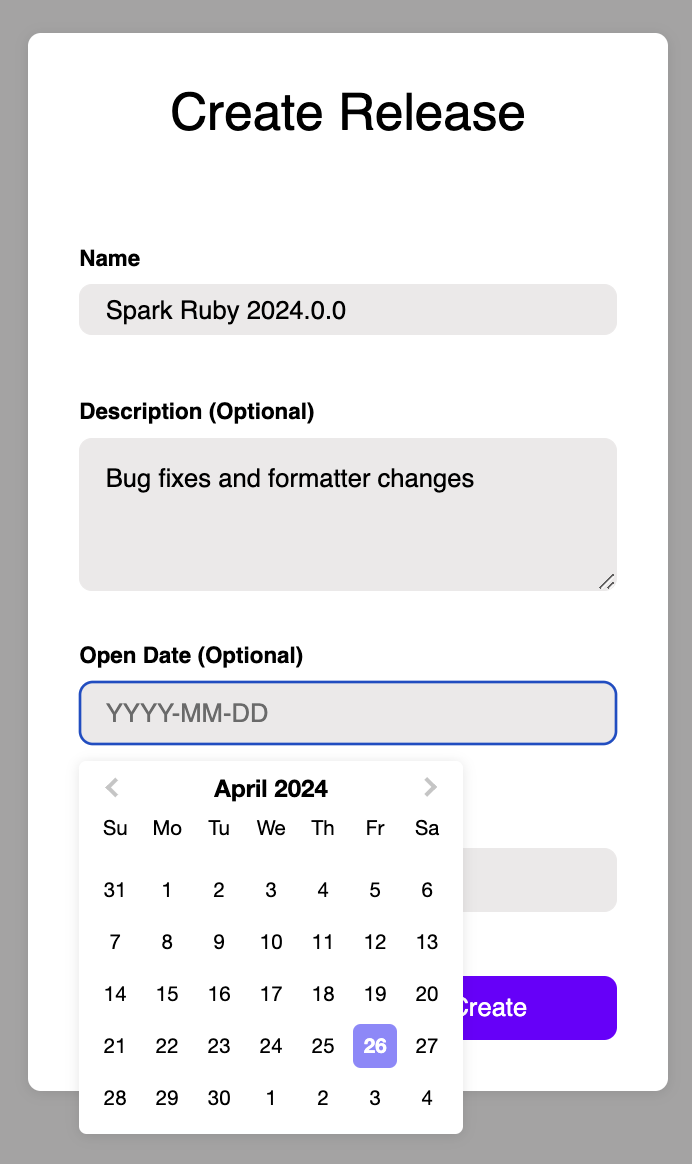
When you complete your release creation, it will be in an 'Open' state.
Assign (and Unassign) Labels (Test Runs) to a Release
The next step is to allocate your current and future test runs (via their Labels) to your new release. You add labels (think Test Runs) to a release in much the same way you do to a 'Node' for your continuous testing.
- Select the newly created release from the left hand navigation.
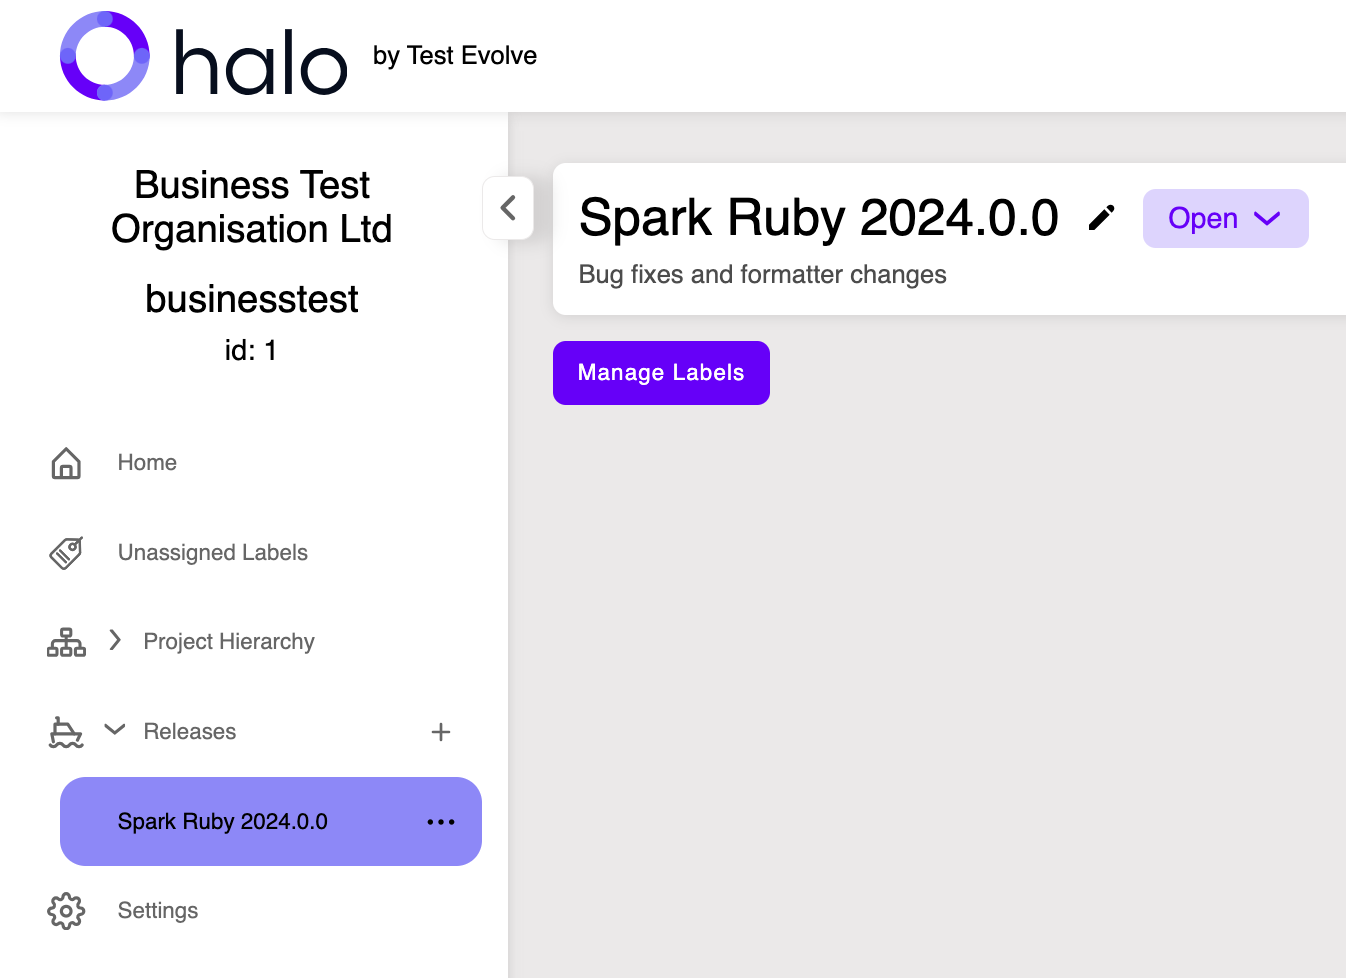
- Use the Label picker to select one or more Test Runs to assign to your release. You can only allocate existing labels to your release. If you wish to add data that is not yet in Halo, you must first execute a test with that label and send the results to Halo. At that stage, it will become selectable.
- This is also where you 'remove' labels from a release if necessary.
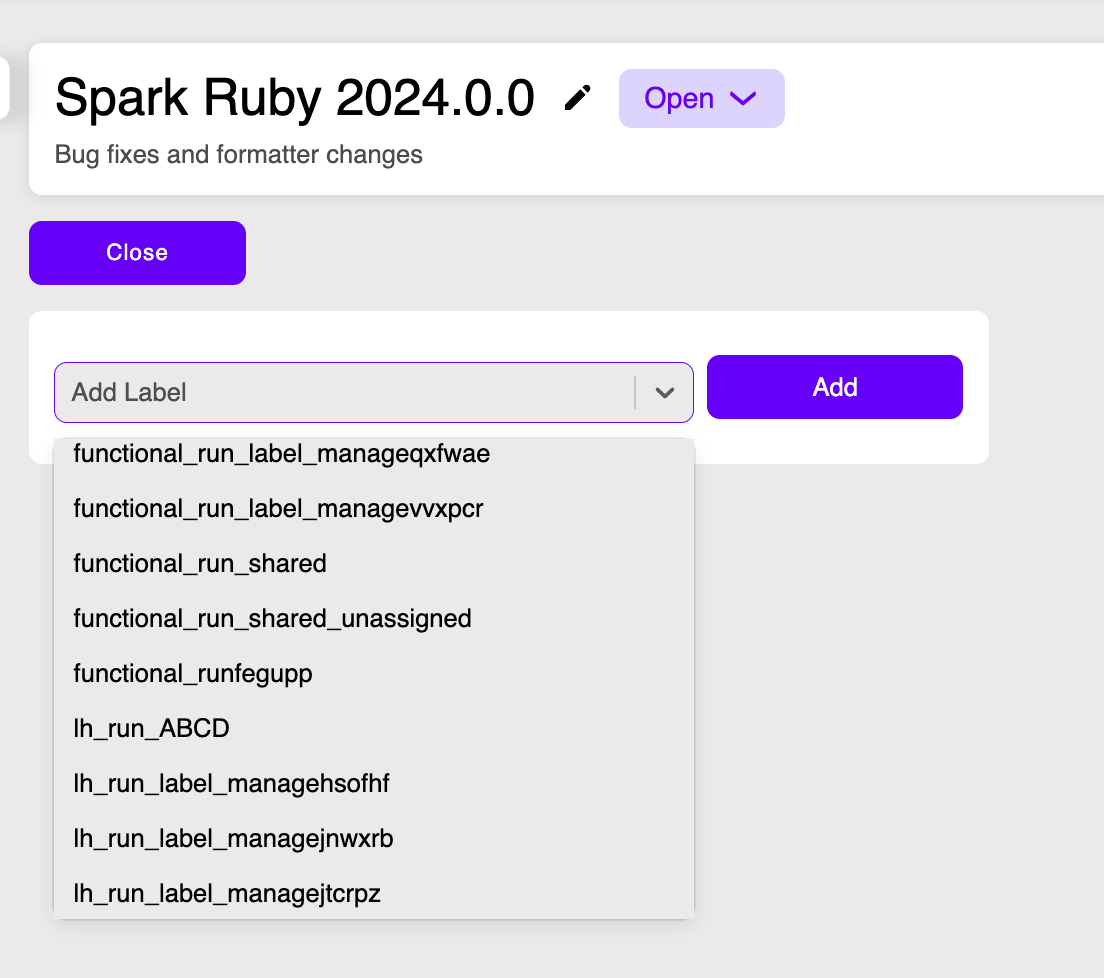
- Close the selector when finished. Your Labels (Test Runs) are now allocated to your release. For as long as you continue to run tests using the same label, the Test Run card on the release will always show the latest run result.
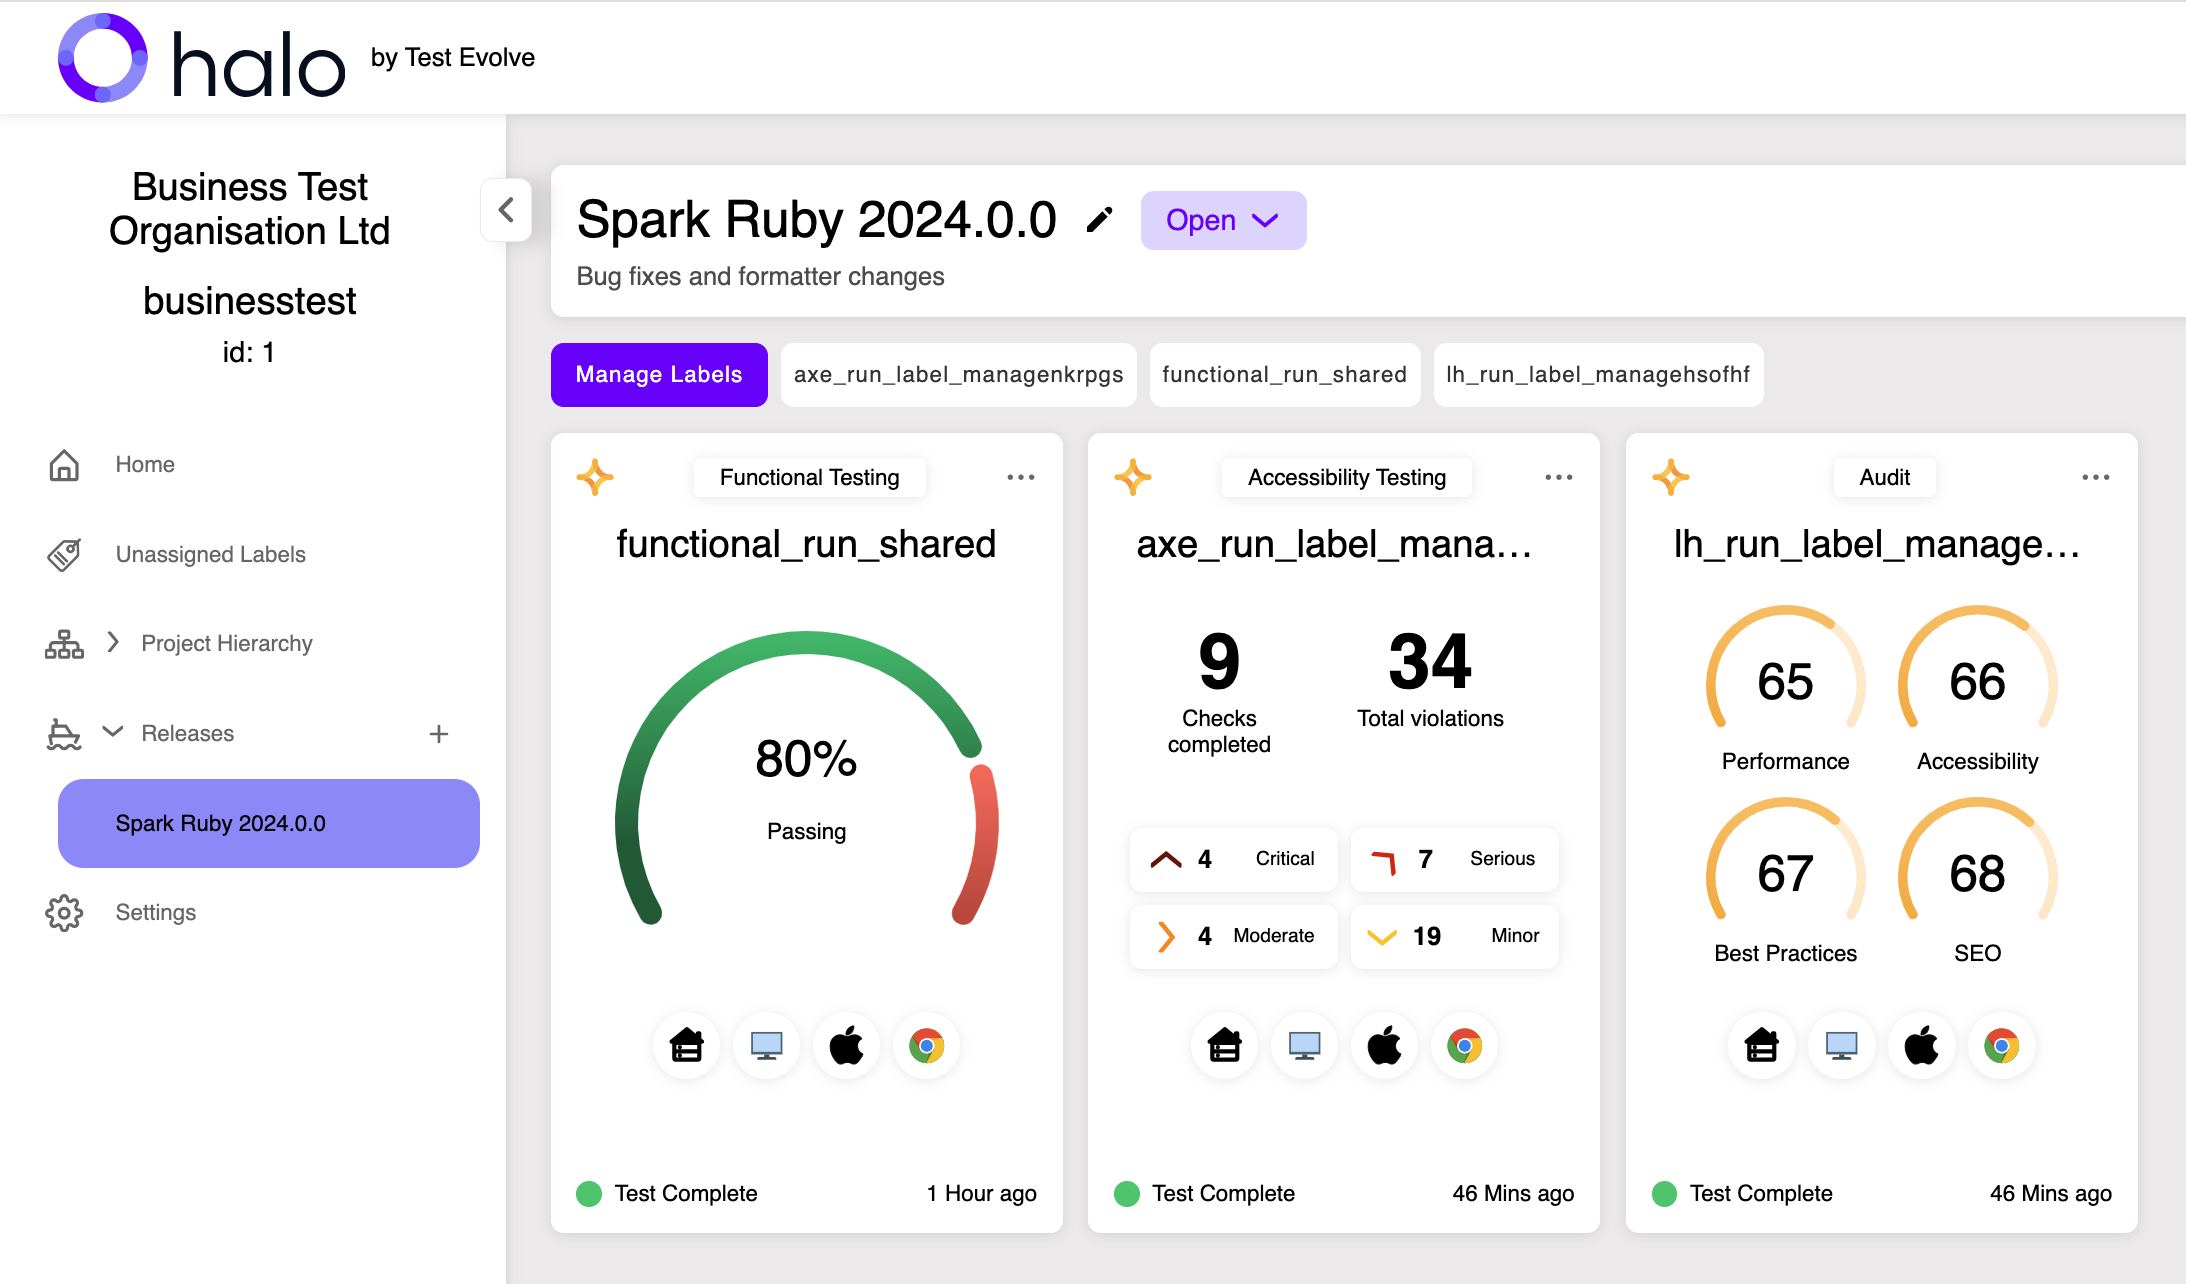
Freeze (and Unfreeze) Labels (Test Runs) for a Release
Ultimately as you draw nearer to your targeted release date, you will wish to present a closing snapshot of your various release labels (test runs) for review at a typical go/no-go meeting. Halo Releases work on the basis that you 'freeze' your final 'accepted' test run to be preserved as a snapshot in time for that team release decision. You may well be managing your actual software release in a tool like JIRA. Halo Releases are designed to support and work closely with your Release Management process and provide that crucial application quality overview.
There are two ways to assign a label to a release.
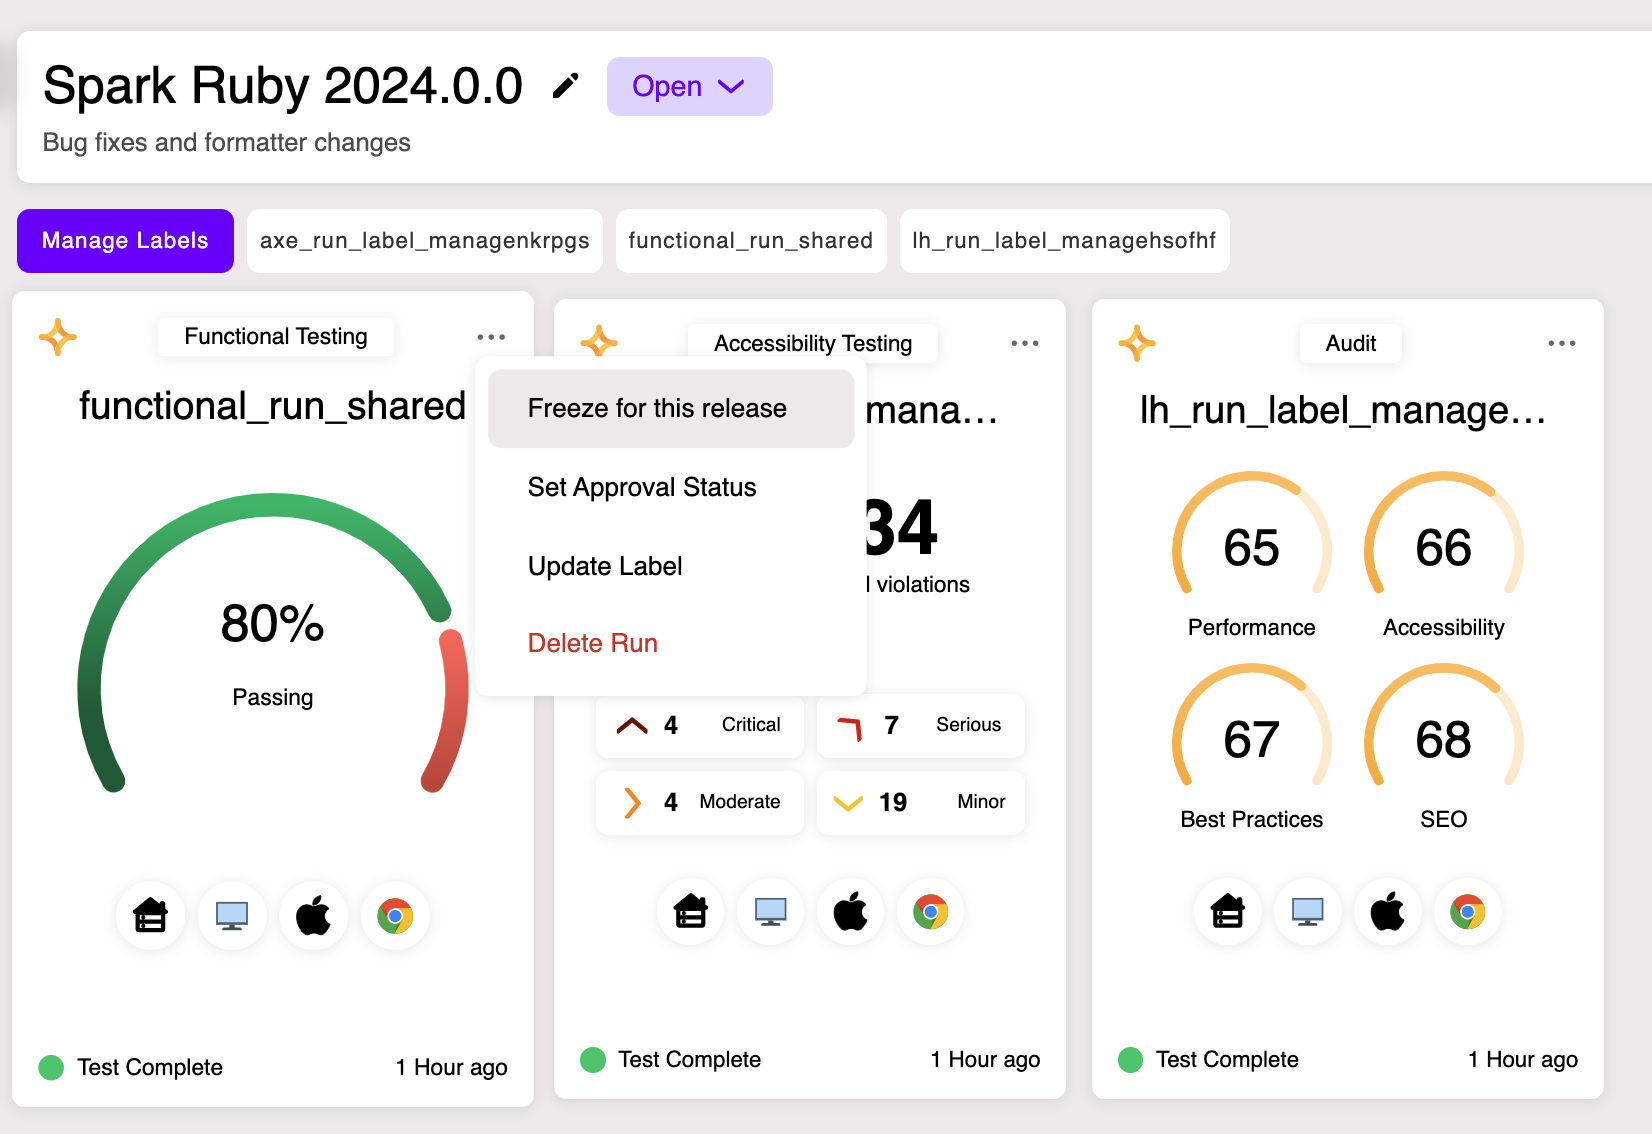
From the Run Card on the Release Page
- Click on the '...' context menu on the Run Card.
- Select 'Freeze for this release'.
From the Run View
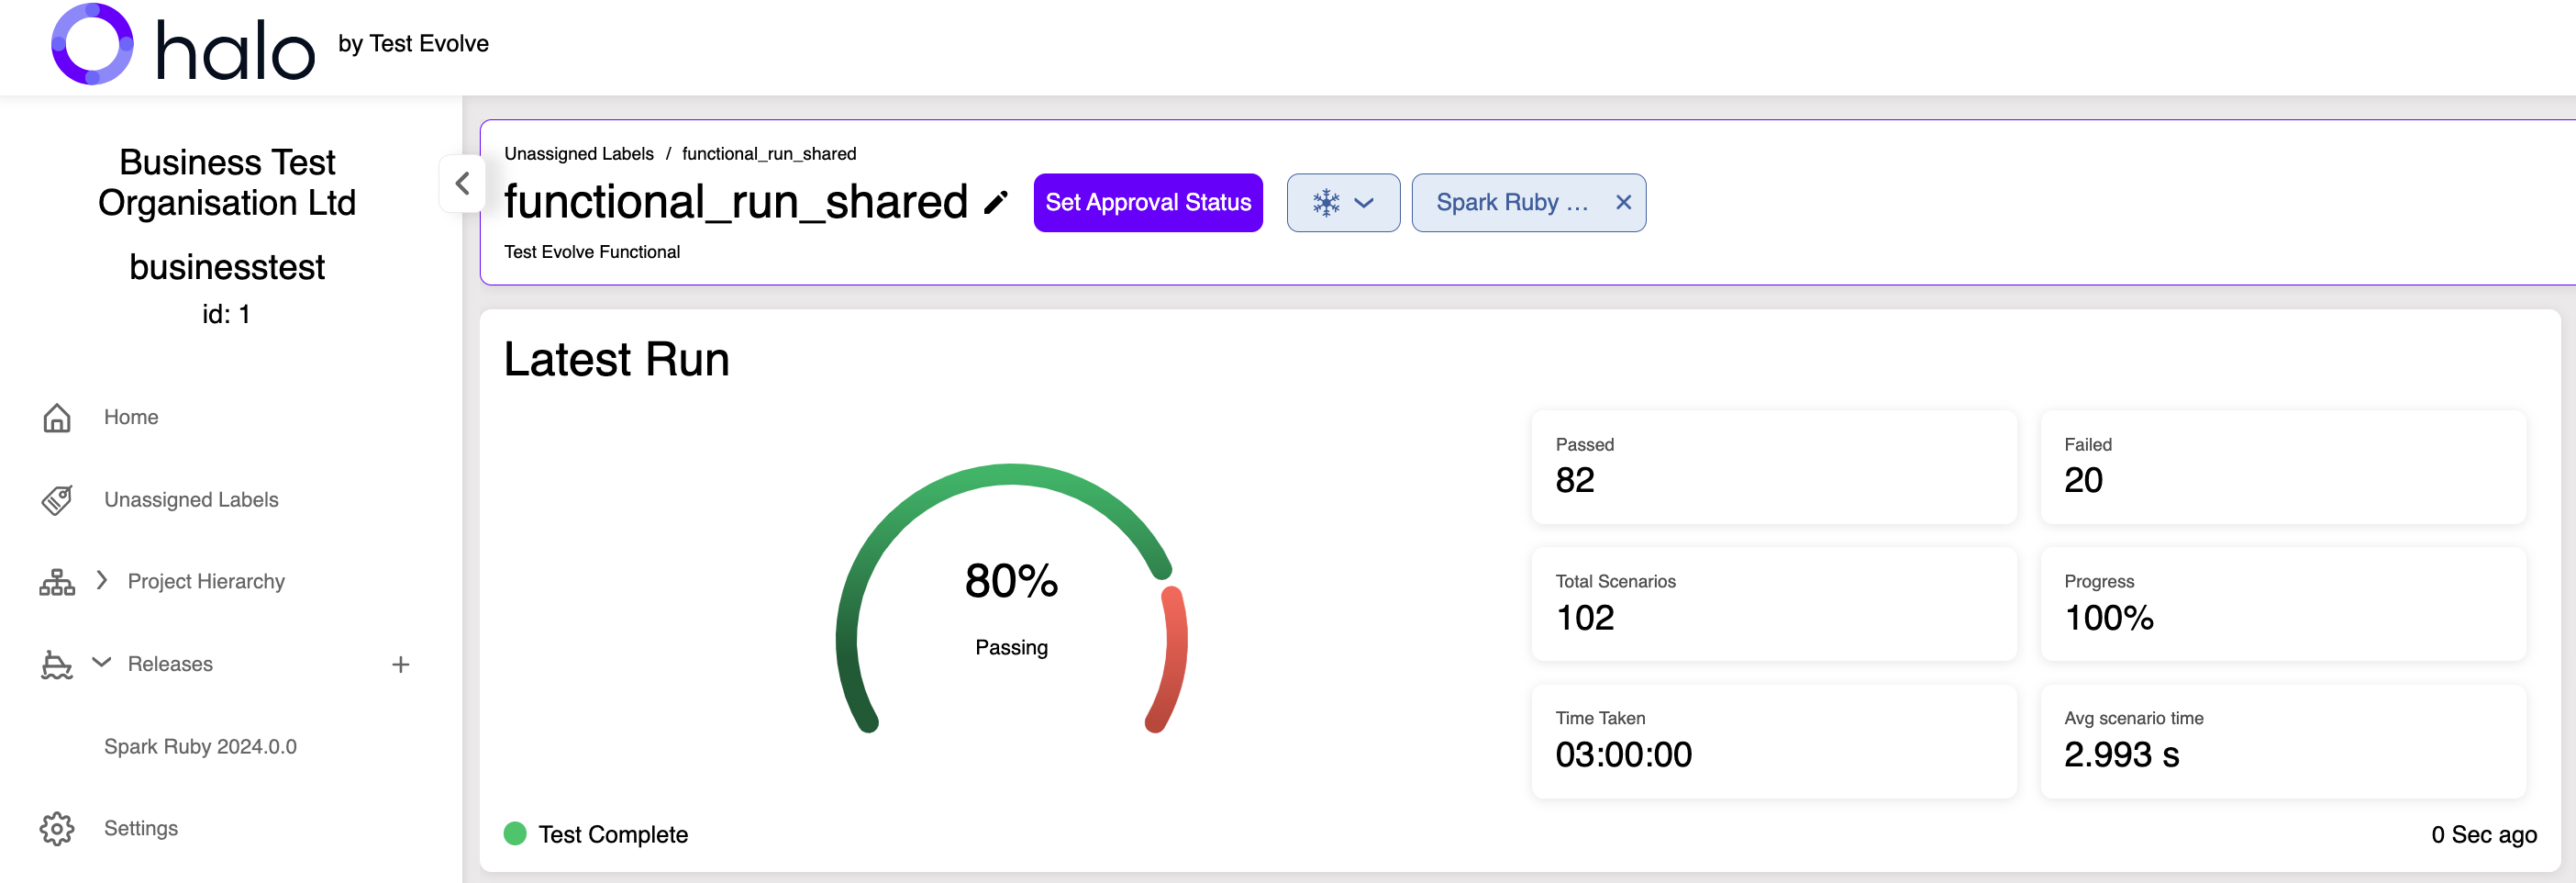
- Select the
❄drop down icon at the top of the page next to theSet Approval Statusbutton. - Select the Release from the
❄dropdown for which you wish to 'Freeze' this run. - The release will then be displayed next to the
❄dropdown. - To 'Unfreeze' the run, click on the
Xbutton on the release container.

NOTE: A label (Test Run) can be frozen for any of the releases to which it is allocated. When you have frozen a run for a release, new data received for that Label will continue to populate and display in your standard Node and Run Views, but the run card on the release page itself will not be updated.
Select the Release from the ❄ dropdown for which you wish to 'Freeze' this run.
A frozen run on a release will have a blue border and a ❄ icon on the run card itself.
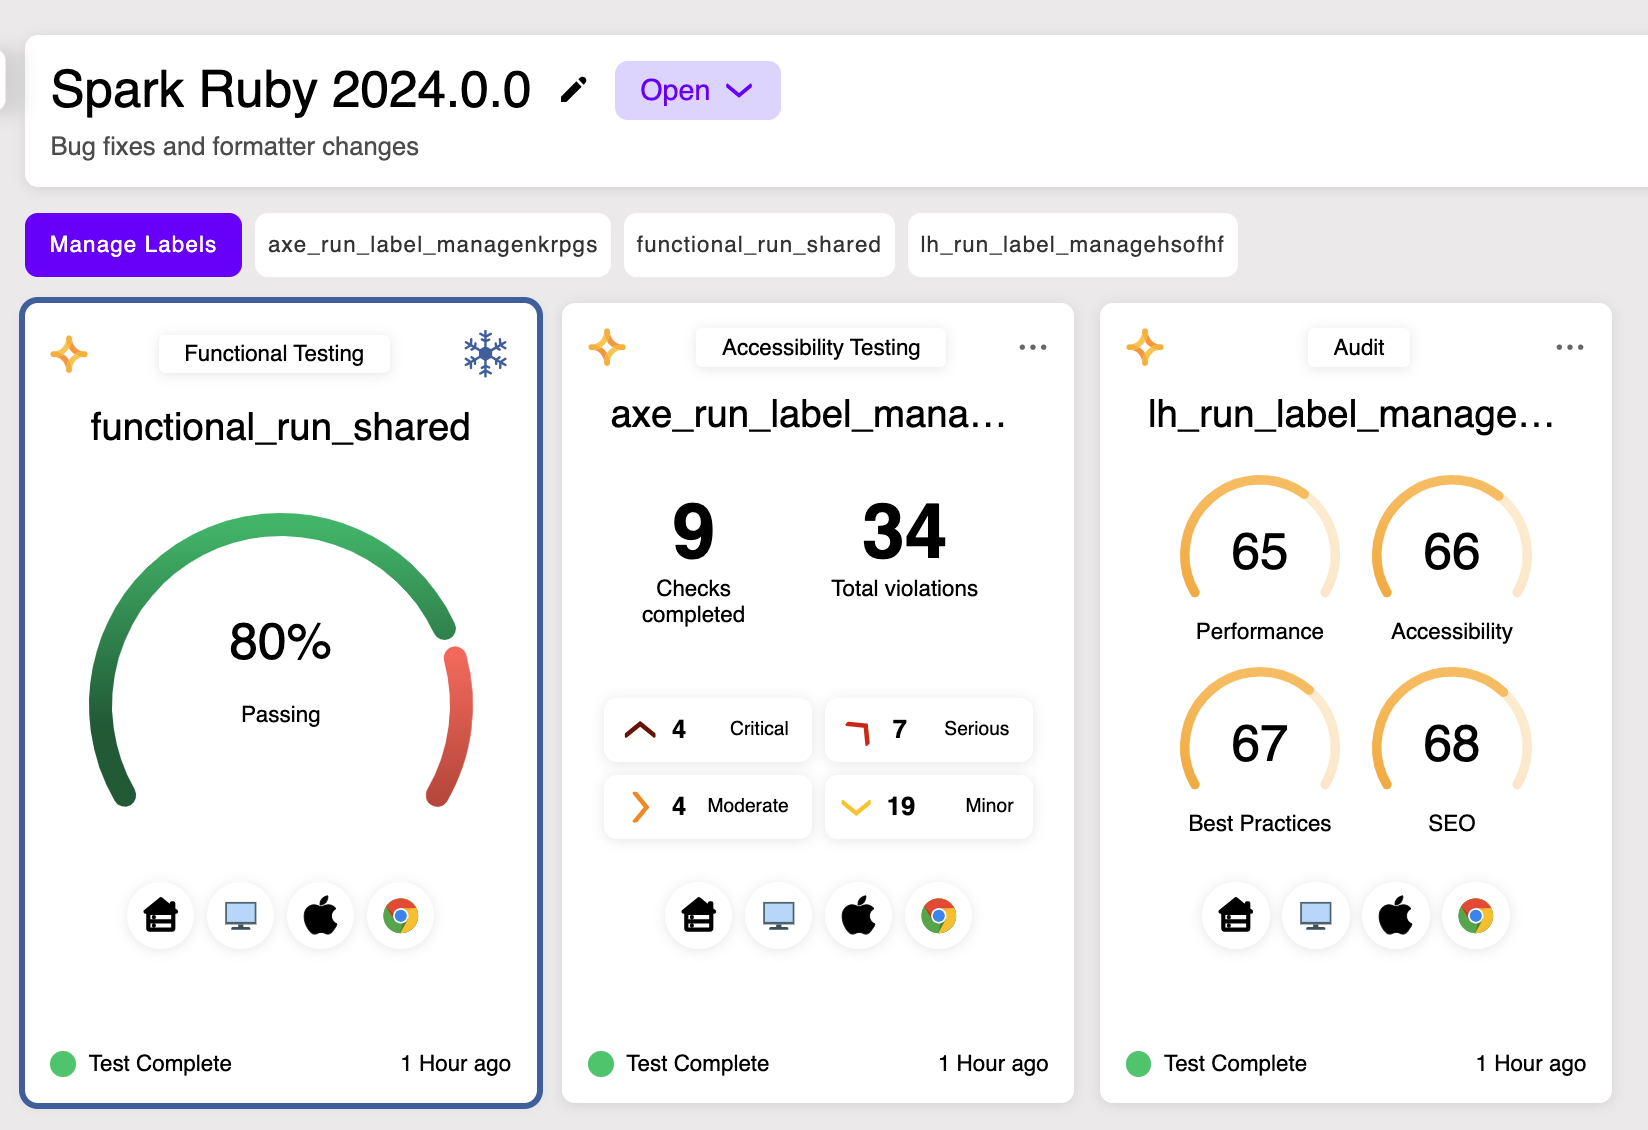
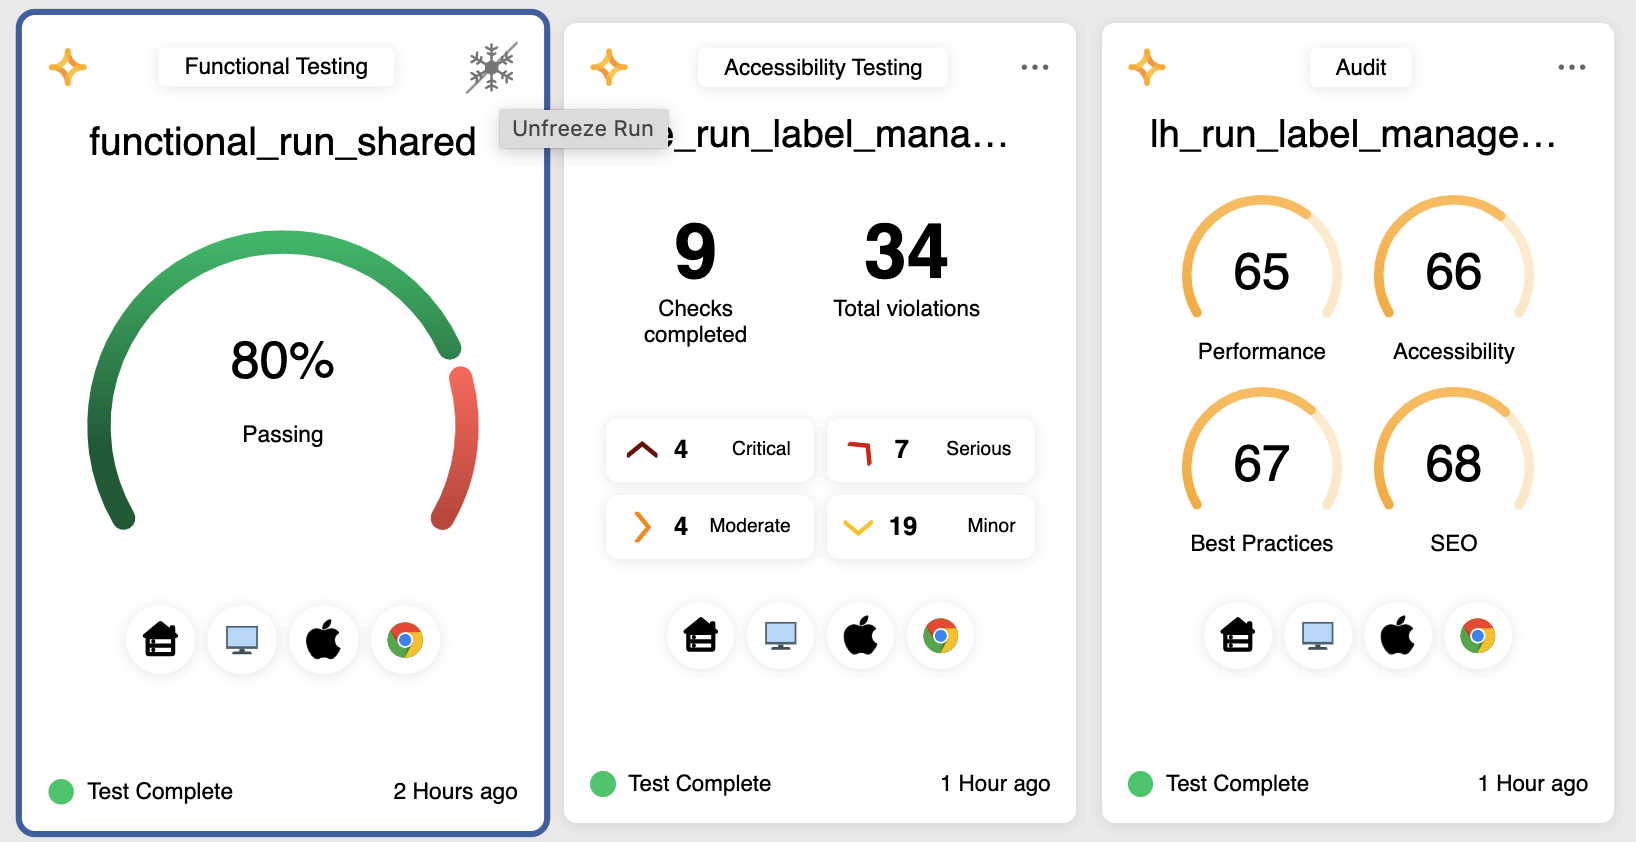
You can also unfreeze a run on a release via the run card on the release page. Simply click on the ❄ icon to unfreeze it.
View All Releases
- Select the 'Releases' navigation link to see the Releases Page.
- The 'Releases' page will show all Open releases by default.
- Release cards show name, description, actual status, open date and close date where relevant.
- They also show implied completion or readiness status via the number of frozen runs out of the total assigned to the release. When all are frozen, you can consider that release 'test complete'.
NOTE: Only Open Releases are shown in the main navigation.
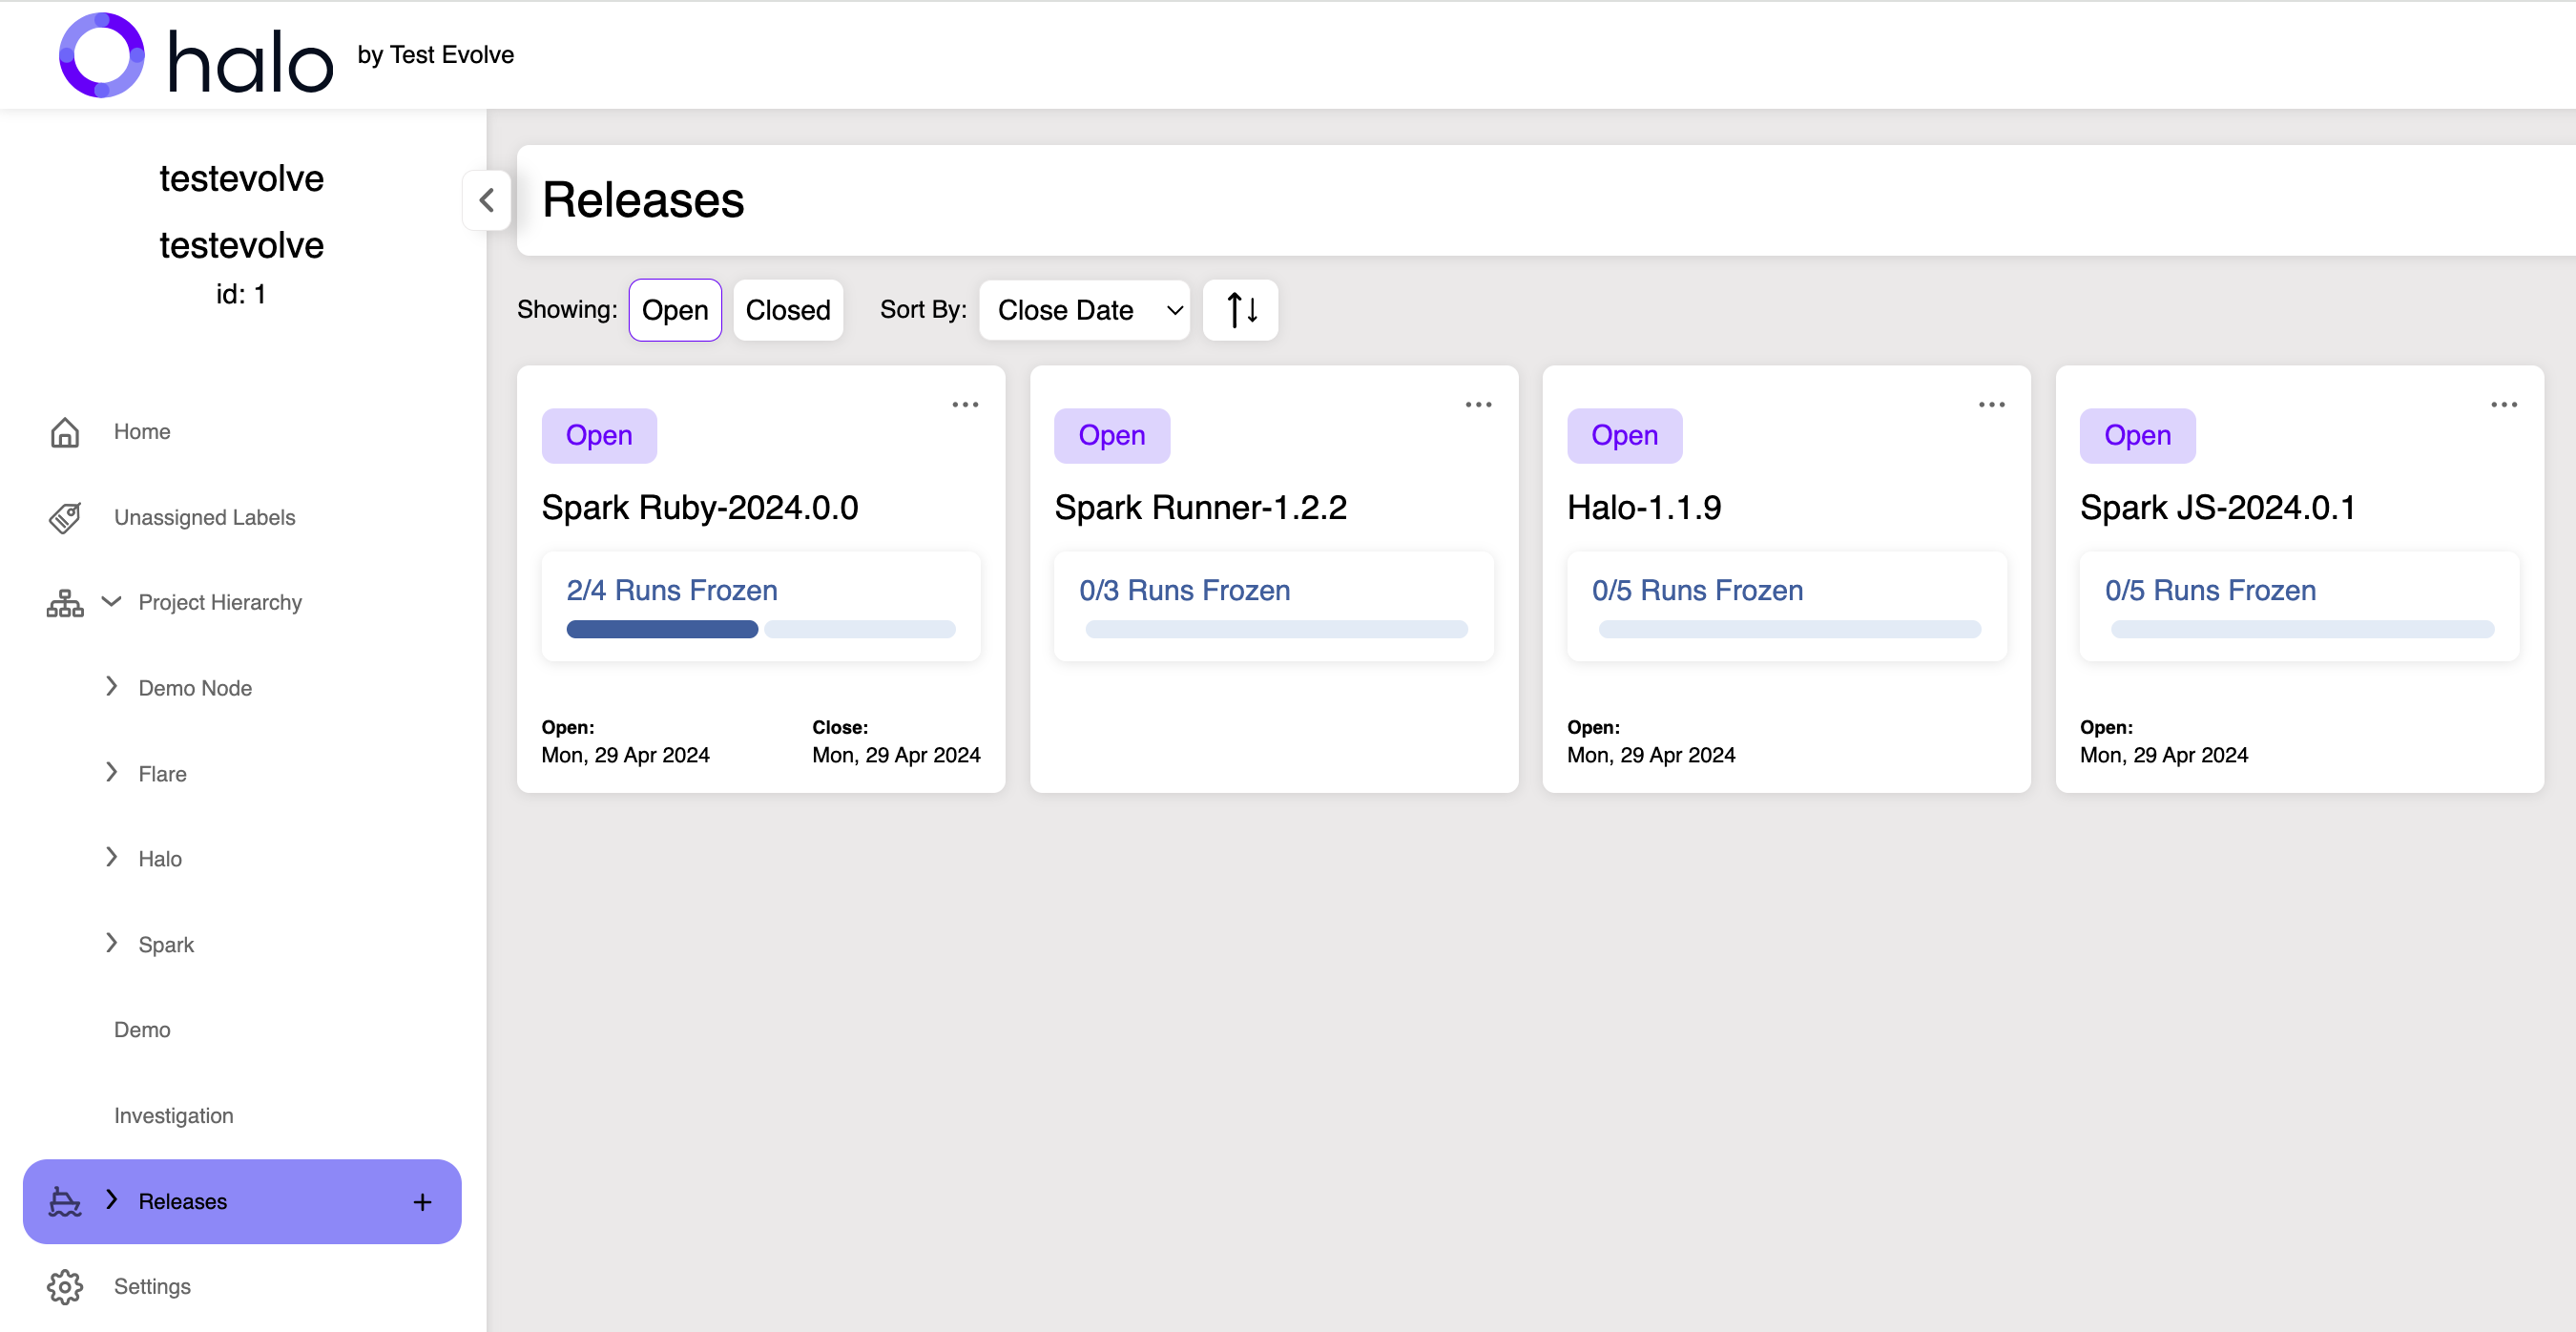
- Releases can be filtered (Open/Closed) and sorted (Open date, Close date, Alphabetical)
- Releases are sorted by Close date as default

Edit, Close or Delete a Release
There are two ways to Edit, Close or Delete a release.
NOTE: Only Administrators can Close and Delete releases. Any user can Edit releases.
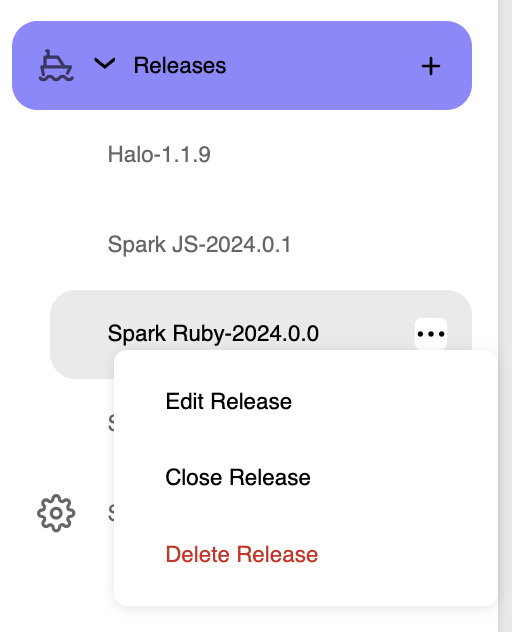
From the main navigation
- Click on the '...' context menu next to the release name.
- Choose the appropriate option.
From the Run Card on the Release Page
- Click on the '...' context menu on the Run Card.
- Choose the appropriate option.
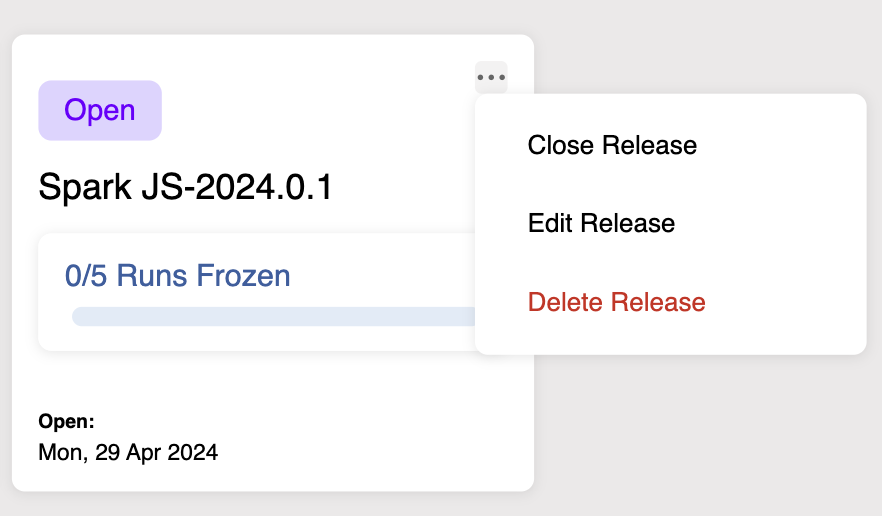
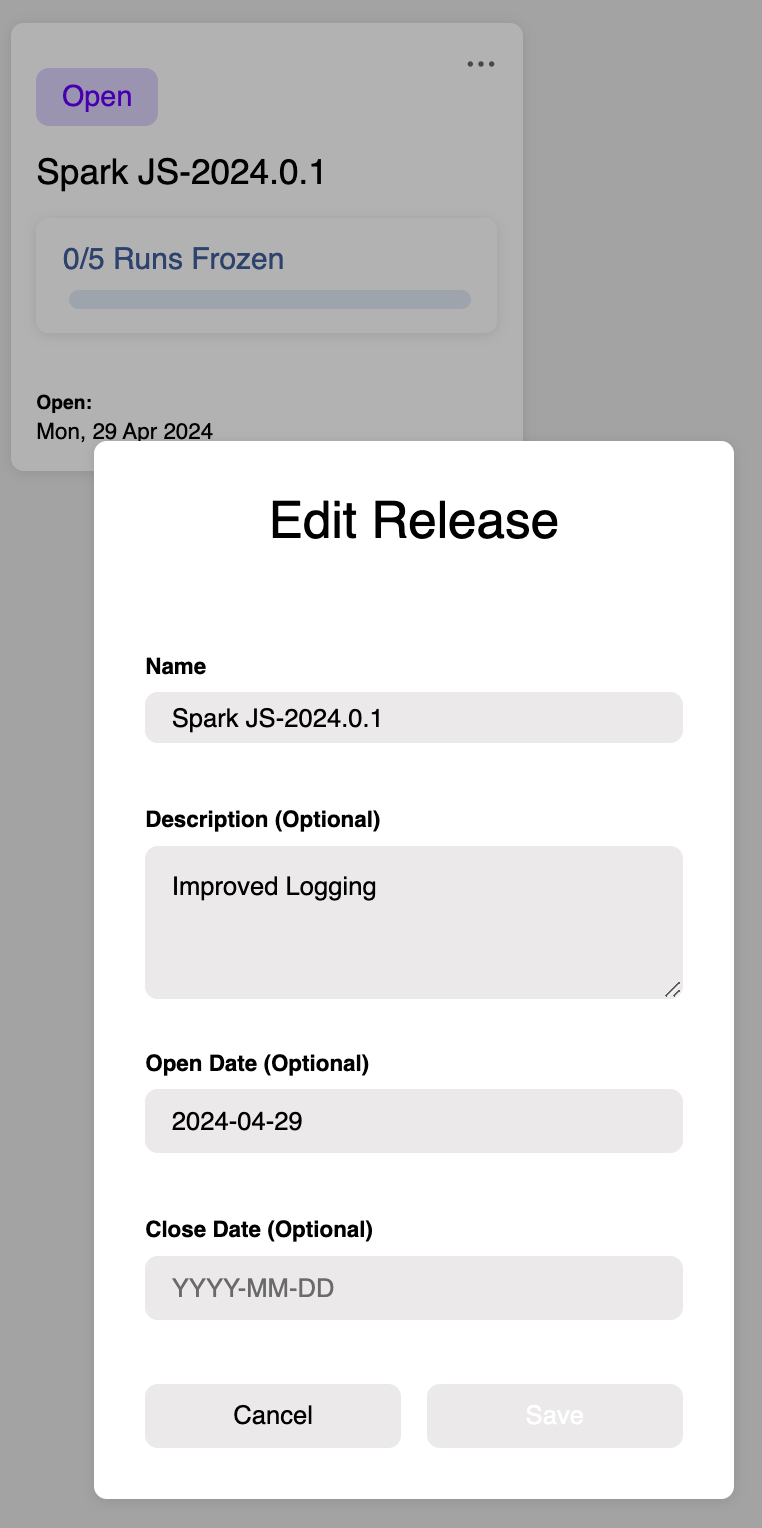
- When editing, any of the release attributes can be amended and saved.
