Building your Project hierarchy
In a project, users will see the Project Hierarchy in the left-hand menu.
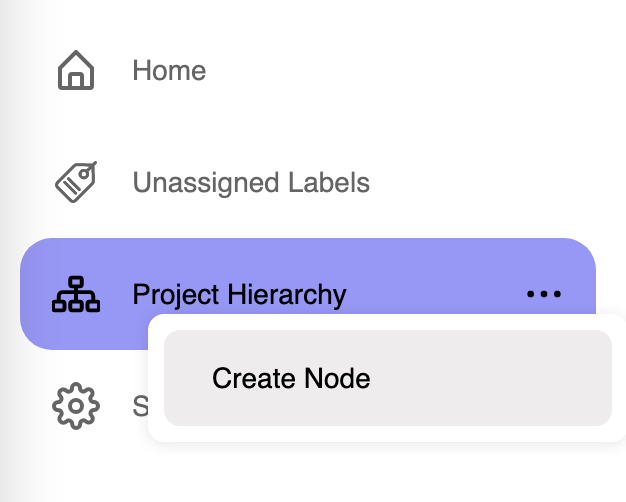
Create Node
In order to create a node in the Project Hierarchy:
- Hover over the node that you want to add a child node for and three dots will display. (No hover is required in mobile)
- Clicking on these dots opens a context menu.
- Select
Create Node. - A text entry field will be displayed.
- Enter a node name between 1 and 50 characters in length.
Delete Node
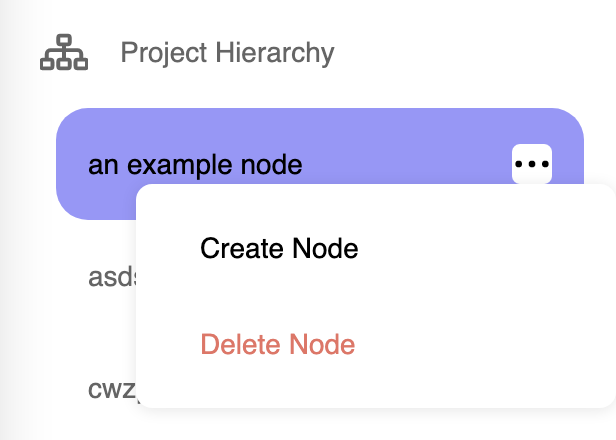
In order to delete a node in the Project Hierarchy:
- Hover over the node that you want to delete and three dots will display. (No hover is required in mobile)
- Clicking on these dots opens a context menu.
- Select
Delete Node.
- A confirmation modal will be displayed.
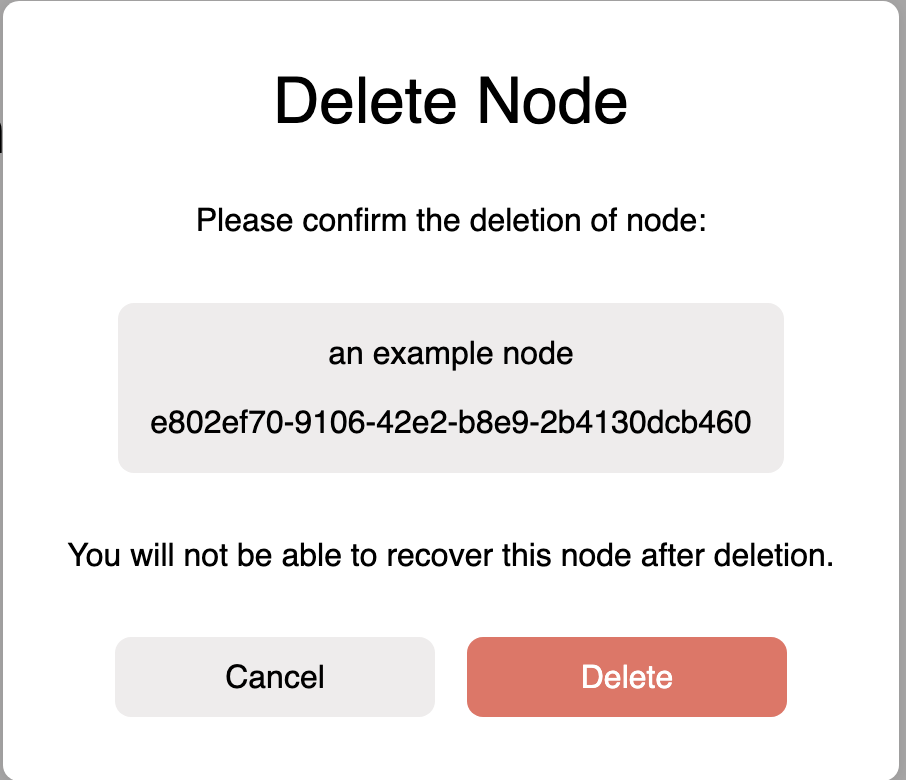
- Select
Deletein the confirmation modal. - The node will disappear from your Project Hierarchy.
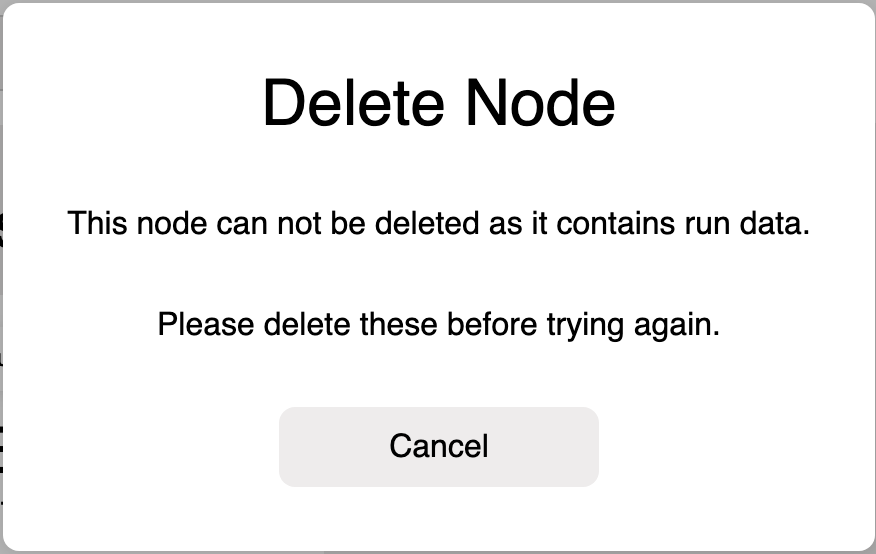
You can not delete a node if:
- It is the root node, named Project Hierarchy.
- There are labels currently attached to the node.
- The node has child nodes.
If you attempt to delete a node that can not be deleted, an error message will be displayed.